How Laser Printers Work: Office Color Printing Process
By Aisha Williams • 3rd Oct

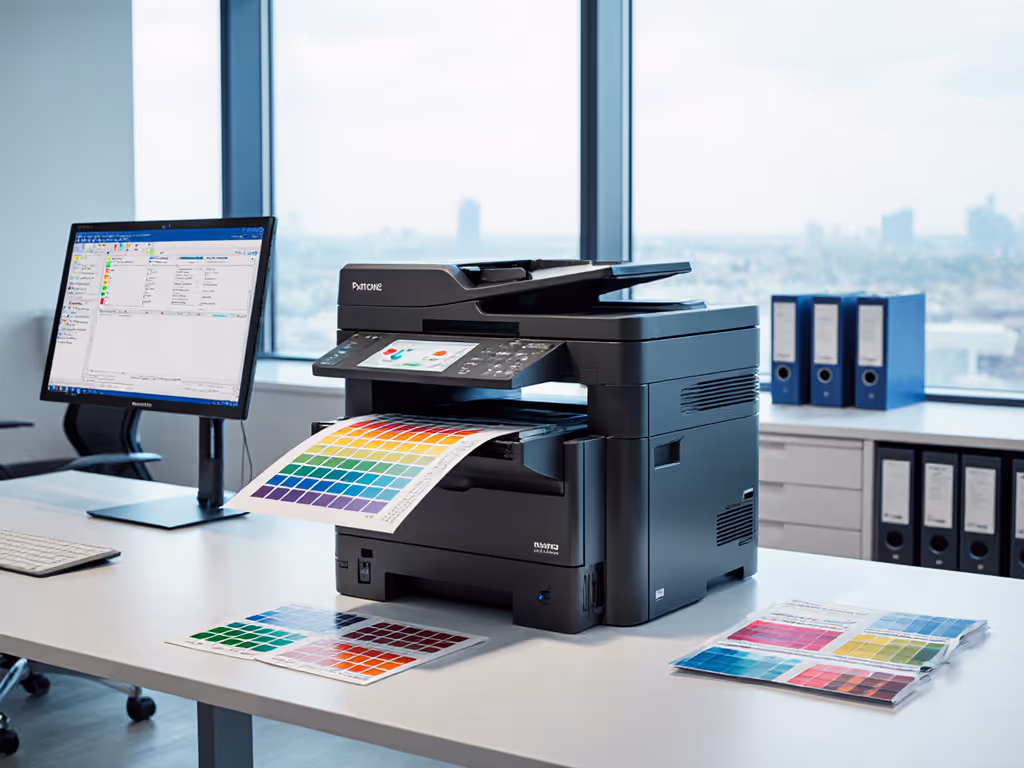
When your office's color printer suddenly can't produce the vibrant brand assets your marketing team needs, understanding how laser printers work becomes more than academic; it is mission-critical. As an IT leader, you're likely balancing print reliability against hidden costs and helpdesk ticket volume. The good news is that demystifying the laser printer color process equips you to preempt problems before they stall workflows. Fewer tickets prove the design, not the spec sheet.
The Electrophotographic Process Demystified
Unlike inkjet technology, laser printers operate through an electrophotographic process: a sophisticated dance of light, electricity, and heat. This method powers office printers from every major manufacturer because it delivers consistent quality across thousands of pages. At its core, this process transforms digital data into physical documents through seven precise steps, with each component designed for reliability when maintained properly.
Every step must justify itself in this tightly choreographed system. Preemptive knowledge of this workflow reduces those "why won't it print" helpdesk calls from staff who just need to get their job done.
Why Understanding the Process Matters for Your Team
When I led our helpdesk, we saw recurring tickets that traced back to simple misunderstandings of the printing process. By training staff on what actually happens inside the machine (particularly the role of key components like the printer drum unit), we turned frustrated users into first-level troubleshooters. Our quietest weeks came when people understood why certain error messages appeared.
The Seven-Step Color Laser Printing Process
Step 1: Cleaning and Resetting the Drum Unit
Before any new job begins, the printer drum unit undergoes cleaning. A rubber blade scrapes residual toner from the previous job into a waste compartment while erase lamps neutralize leftover electrical charges. This reset ensures each print job starts with a clean, uniformly charged surface, which is critical for color accuracy in professional documents. Neglecting this step leads to ghosting or color bleed, especially in high-volume print environments.
Step 2: Conditioning the Photosensitive Drum
The primary corona wire applies a uniform negative charge (typically -600 volts) across the entire drum surface. This electrostatic foundation allows the laser to "draw" the image by selectively discharging areas. In color printers, this step repeats for each color channel (cyan, magenta, yellow, black), requiring precise synchronization between drum units.
Step 3: Exposing: Where the Laser Creates the Image
The laser beam, directed by a rotating mirror, scans across the drum surface translating digital data into an electrostatic pattern. Where the laser hits, the charge drops to approximately -100 volts, creating an invisible "latent image." This is the moment your digital file becomes a physical blueprint. In our office, understanding this step helped staff recognize why certain complex graphics caused processing delays.
Step 4: Developing: Toner Meets the Image
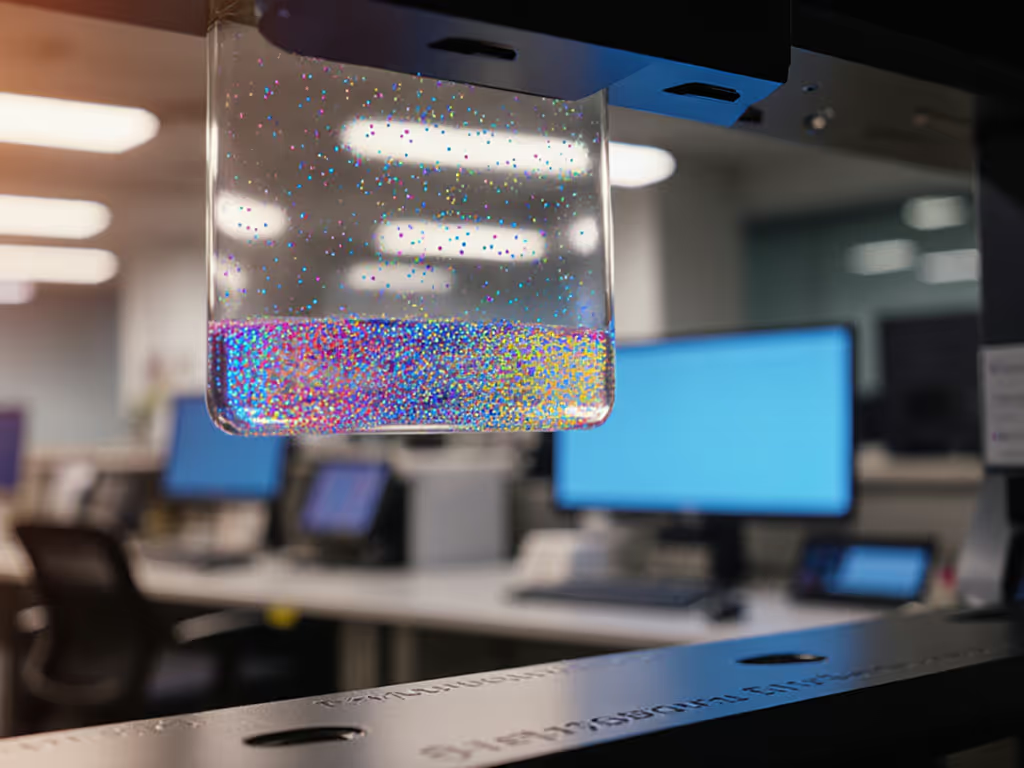
This is where the toner cartridge function becomes visible. Negatively charged toner particles (85-95% finely ground plastic with pigments and silica) are attracted to the discharged areas of the drum. Color laser printers use four separate toner cartridges, each with specific pigments:
- Cyan: Copper Phthalocyanine (Pigment Blue 15:3)
- Magenta: 2,9-Dimethyl-Quinacridone (Pigment Red 122)
- Yellow: Benzimidazole (Pigment Yellow 180)
- Black: Carbon black powder mixed with plastic
Silica prevents clumping while metal oxides maintain the electrostatic charge, a delicate balance that affects both print quality and toner yield.
Every step must justify itself, especially when selecting toner cartridges. Choosing compatible but non-genuine supplies often disrupts this precise chemical balance, leading to premature printer drum unit wear and increased waste.
Step 5: Transferring: From Drum to Paper
A positively charged transfer roller pulls the toner image from the drum onto the paper. In color printers, this happens sequentially for each color channel as the paper passes through the imaging system. The transfer efficiency directly impacts color registration: misalignment here causes blurry or rainbow-effect documents that frustrate marketing teams creating client presentations.
Step 6: Fusing: Making It Permanent
The fuser assembly applies heat (typically 356-392°F) and pressure to melt the toner particles into the paper fibers. This critical component contains:
- Heating roller with halogen lamp
- Pressure roller
- Teflon-coated surfaces to prevent paper sticking
- Silicone oil application system
Over 60% of color printer failures relate to fuser issues, particularly when handling specialty media like labels or cardstock that require precise temperature calibration. For guidance on media choices that protect print quality and fuser longevity, see our office paper selection guide.
Step 7: Waste Management and Reset
Excess toner gets scraped into a waste container, and the drum receives a final cleaning before the cycle restarts. Modern printers track waste levels to prevent overflow that could contaminate subsequent prints, a hidden factor in those "mysterious streaks" that trigger helpdesk calls.
Why Color Printing Requires Special Considerations
Office color laser printers add complexity through:
- Precision alignment between four color channels
- Temperature control for each toner type (different melting points)
- Paper path management to maintain registration through multiple imaging stations
- Memory requirements for processing complex color data
When our design team complained about inconsistent brand colors, we discovered their printer was cycling through temperature variations during long jobs. Adjusting the warm-up settings and implementing color calibration presets eliminated those issues, proving again that understanding the process enables solutions.
Practical Implications for Office Managers
Knowledge of the printing process directly addresses common pain points:
- Frequent jams? Check the fuser assembly rollers for wear, as coatings degrade and lose grip
- Color inconsistencies? Verify drum unit alignment and toner cartridge seating
- Early component failure? Analyze if paper type matches the fuser's temperature profile
When we standardized driver presets across our fleet based on this understanding, our "can't scan to email" tickets vanished within a week. Instead of posters explaining complex menu paths, we created role-based presets that made the right action obvious. The quiet in the helpdesk queue was audible.
Actionable Next Steps for Your Office
Don't wait for the next printer crisis. Take these concrete steps today:
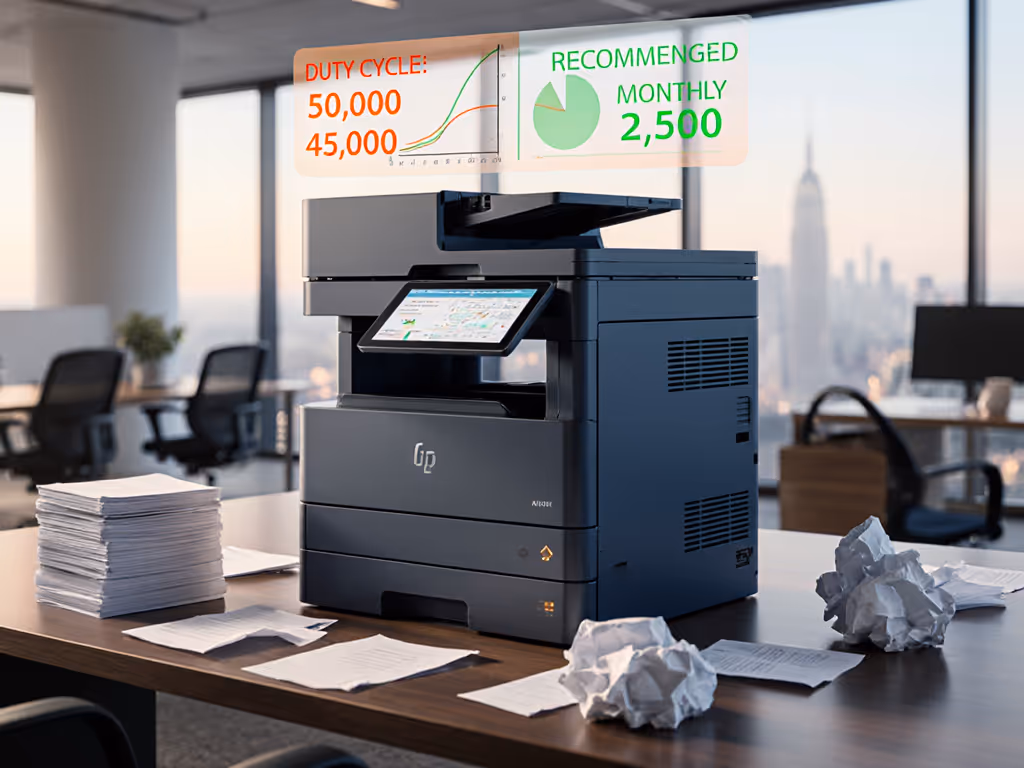
- Audit your color usage patterns: identify which departments actually need color and set appropriate defaults
- Create simple troubleshooting guides focused on the three most common issues in your office (check toner levels, clear jams, restart sequences)
- Document component lifespans for your specific models (drum units typically last 2-3 times longer than toner cartridges)
- Implement standardized presets for common workflows like "scan to email" or "double-sided reports"
These steps transform your print environment from a ticket-generating headache into a transparent, predictable workflow. When staff understand not just how to press buttons, but why the printer needs certain actions, they become active participants in maintaining uptime rather than passive recipients of broken processes.
The most reliable printers aren't those with the most features; they are the ones whose workflows align with your team's actual needs. Great workflows make instructions unnecessary; presets beat post-its and posters every time. Every step must justify itself: not just in the printing process, but in how we manage technology for real people doing real work.
Related Articles